Recipe: Savory Cheesecakes

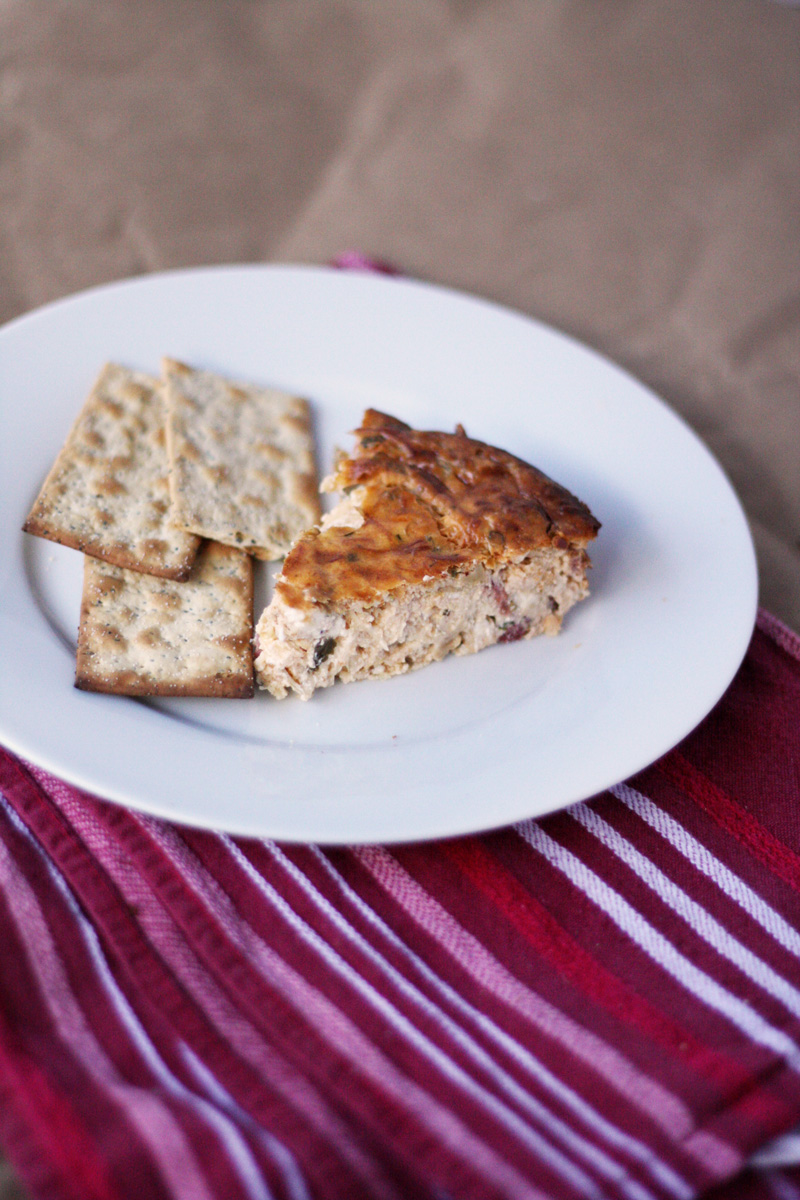
With holiday entertaining looming in the no-so-distant future, it's time to gather ideas for sharable party foods that will impress.  Our savory cheesecake recipes are a sophisticated alternative to traditional party dips. Served with crackers of any kind, they make a beautiful presentation.  The corn relish cheesecake has a bit of a spicy kick to it, while the tomato artichoke version is milder with a creamy richness.

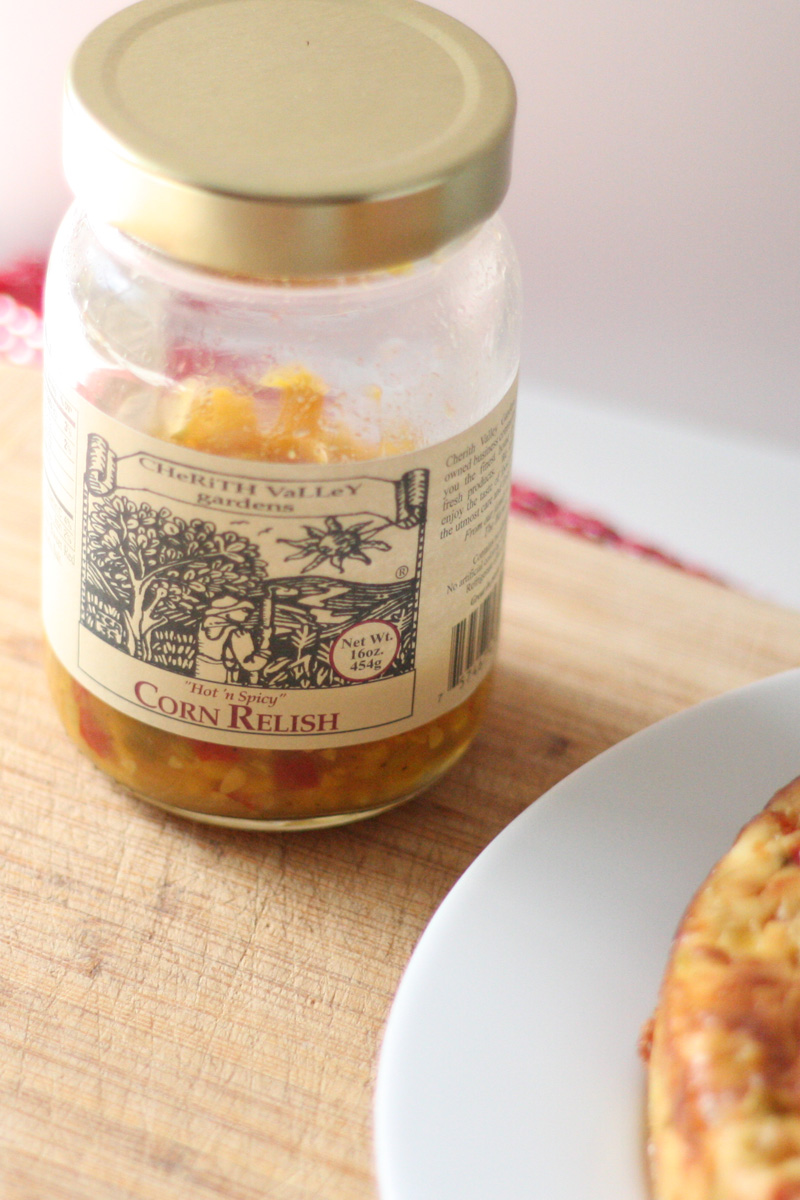
CORN RELISH SAVORY CHEESECAKE

  • 16 ounces cream cheese, softened
  • 2 eggs
  • 1 1/2 cups Cherith Valley Hot 'n Spicy Corn Relish
  • 1/4 cup red bell pepper, finely chopped
  • 2 green onions (tops only), chopped
  • 1 cup cheddar cheese, shredded
  1. Cream together cream cheese and eggs until smooth.
  2. Stir in next 4 ingredients.
  3. Pour into well-greased 6-inch springform pan or oven safe baking dish.
  4. Bake at 350 degrees fro 45-60 minutes, until center is firm.
  5. Let cool 15 minutes before serving.
  6. Serve with corn chips or crackers.

Artichoke Tomato Bruschetta Savory Cheesecake

  1. Beat cream cheese and eggs until smooth.
  2. Stir in bruschetta and cheese.
  3. Place in a 6-inch spring form pan or in a small baking dish.
  4. Bake at 350 degrees F for 45-60 minutes, until center is firm.
  5. Turn off oven and let cheesecake sit for an hour in the oven with door closed.
  6. Garnish with shaved parmesan cheese and chopped red bell pepper.
  7. Serve with crackers.
Print Friendly and PDF

Recipe: Grilled Sundried Tomato Pizza

Pizza on Friday was a regular occurrence during my youth. Sometimes we would buy it from a local pizza place, but most of the time my mom would make homemade pizza.  We loved it, especially in the summer because she hated to turn on the oven, so she would use the grill. Grilled Pizza, has been a family tradition for 20+ years and is probably one of my most favorite meals.

There is just something about the crust with a grilled pizza... it's crisp on the outside and the inside is nice and soft.  I also love the fact that you can make them personal sized, so everyone can pick their own toppings.

This type of pizza is perfect for a party. My favorite house party I gave was a grilled pizza party. I set the table with all different sauces, cheese and toppings.  My guests picked what they wanted and when the dough was ready on the grill they added it to the pizza.  It was interactive and fun!

Friday is coming… Get ready and grill!

Recipe: Grilled Sundried Tomato Pizza | SavoryPantryBlog.com

Grilled Pizza

  1. Preheat your grill on high (make sure the grates are clean)
  2. Take half the dough and stretch it to the thickness you like your pizza, if you like really thin pizza I recommend using a rolling pin.  
  3. Add pizza directly onto the grates of the grill and shut lid, at this time turn down the temperature to medium.  The bottom of the pizza will start getting brown and releasing from the grates (about 5 minutes), once the bottom half is light brown(or a bit on the dark side if you like a nice crunch), flip the pizza dough.  
  4. Brush with olive oil then add sauce, toppings, and cheese. Shut the lid and turn your grill to low. (For the pizza in the pictures, I made an impromptu sauce with a few semi-sun-dried tomatoes and roasted garlic in a food processor and topped with whole sun dried tomatoes, smoked mozzarella and basil.)
  5. Check it after 5 minutes.  If the bottom is brown and the top is not melted yet, shut off the grill and close the lid for an additional 3 minutes. 
  6. Slide your pizza from the grill to your plate and enjoy!
Recipe: Grilled Sundried Tomato Pizza | SavoryPantryBlog.com
Print Friendly and PDF

Recipe: Easy Bruschetta Mini Pizzas

Homemade pizza doesn't have to be complicated to be delicious.  With a pre-made crust and a jar of Elki bruschetta, you're just a few steps away from enjoying a fresh baked pizza, made to order.  We used pepperidge farm puff pastry dough to create these 2 mini pizzas.  Sure, it comes in a rectangular sheet, but after it thaws you can reshape it on a floured surface however you like. 

For a twist on the classic margherita pizza, we used the Elki Artichoke Tomato Bruschetta.  The bruschetta spread functions as both a sauce and topping, making your pizza building even easier.  Next, we threw on some fresh water mozzarella before baking and finally topped the cooked pizza with sliced tomatoes and fresh basil leaves.

For our second pizza, we used the Elki Artichoke Lemon Pesto.  You could really just use this spread and keep it simple, but we went ahead and added feta cheese, and chopped chicken breast pieces.  (This is a great opportunity to "clean out the fridge" and get creative with toppings!)  A great pizza for someone who isn't fond of red sauce.

We hope you'll take inspirations from our mini pizzas, and create your own with a variety of topping and bruschetta spread combinations!  One mini pizza is perfect for a single entree or slice them for a shared appetizer.

Easy Bruschetta Mini Pizzas | SavoryPantry.com

Easy Bruschetta Mini Pizzas

  1. Preheat your oven to 400.  Once the dough has thawed (on the counter 45 minutes), prepare your work surface with a dusting of flour.  Divide the dough in half to form 2 balls. Roll out with a rolling pin.  Turn up edges around each pizza to forma small crust.
  2. Place the 2 pizzas on an ungreased cookie sheet and prick all over with a fork.  Bake for 10-15 minutes.
  3. Remove the pre-baked crusts from the oven and spread each with the Elki Artichoke Tomato Bruschetta & Elki Artichoke Lemon Pesto
  4. Top the Artichoke Tomato pizza with fresh mozzarella.  Top the Artichoke Lemon Pesto pizza with feta and chicken.  Return to the oven for another 10-15 minutes.
  5. Remove from the oven.  Top the Artichoke Tomato pizza with fresh tomato slices and basil leaves. 
Easy Bruschetta Mini Pizzas | SavoryPantry.com
Print Friendly and PDF